Welcome to Haute Kippy - crochet craft and more!

If you're looking for ready made accessories available for purchase now, please contact me via email, or facebook. A selection of items from my design cache can be purchased directly from me locally, at craft shows or via mail. I am also available to for custom design work or commission to construct any published pattern. I accept all major credit cards and PayPal and I always ship for free!

If you're a fellow crafter, then you've come to the right place. Enjoy free access to all my crochet patterns, recipes and craft projects by navigating the tabs below or use the social media buttons to connect with me. You can also find clean, printer friendly PDF downloads of all my most popular crochet patterns available for purchase on Etsy and Ravelry!

Thanks for stopping by!
                              

Monday, March 27, 2017

Bitty Berries Coin Purse


Springtime is here! It's that magical time of year when crocheters start switching gears away from cold weather items. But what are you going to crochet if the leaves aren't falling or it's not snowing? Don't worry! I've got TONS of ideas and plans to make many fun free patterns to keep you crocheting all spring and summer.


You're going to get this lovely coin purse for starters, and as a bonus, I've just decided to make a matching checkbook cover! We're going to make some fun Easter bunny ears, a cute storage basket, a new headband, and crocheted stool covers for those kitchen bar stools- just to name a few. I'm not giving away all my secret plans, but I want you to rest assured, it will be a beautiful Spring/Summer season here at Haute Kippy!

I love textured crochet stitches, and next year, I plan to focus more on stitches and textures as I develop new patterns. There are often many different names for the same stitch, as terminology varies on opposite sides of the pond, throughout the internet, and over time with changing trends.

I've worked quite a bit in bobble stitch in the past. What differentiates bobble from berry is the cluster. When making a bobble, you are starting multiple double crochets in the same stitch, and then finishing the dc's like a decrease, pulling through all the loops on the hook.  Patterns such as my Pretty Little Purse, Pom Pom Boot Cuffs, and Kip's Bun Hat feature bobbles. They are fun to make and look super cute on accessories of all kinds!


For the Bitty Berry Coin Purse, we're working in the Berry Stitch. This differs from bobble by creating a small dainty bump texture that kind of looks like a blackberry. The berry is created when the wrong side of a triple crochet (abbreviated tr) is forced out behind your work when sandwiched between two single crochets on either side. So the pattern repeat for working berry stitch is: sc, *tr, sc*. Every tr becomes a berry, and the pattern becomes evident as you turn the work and repeat.

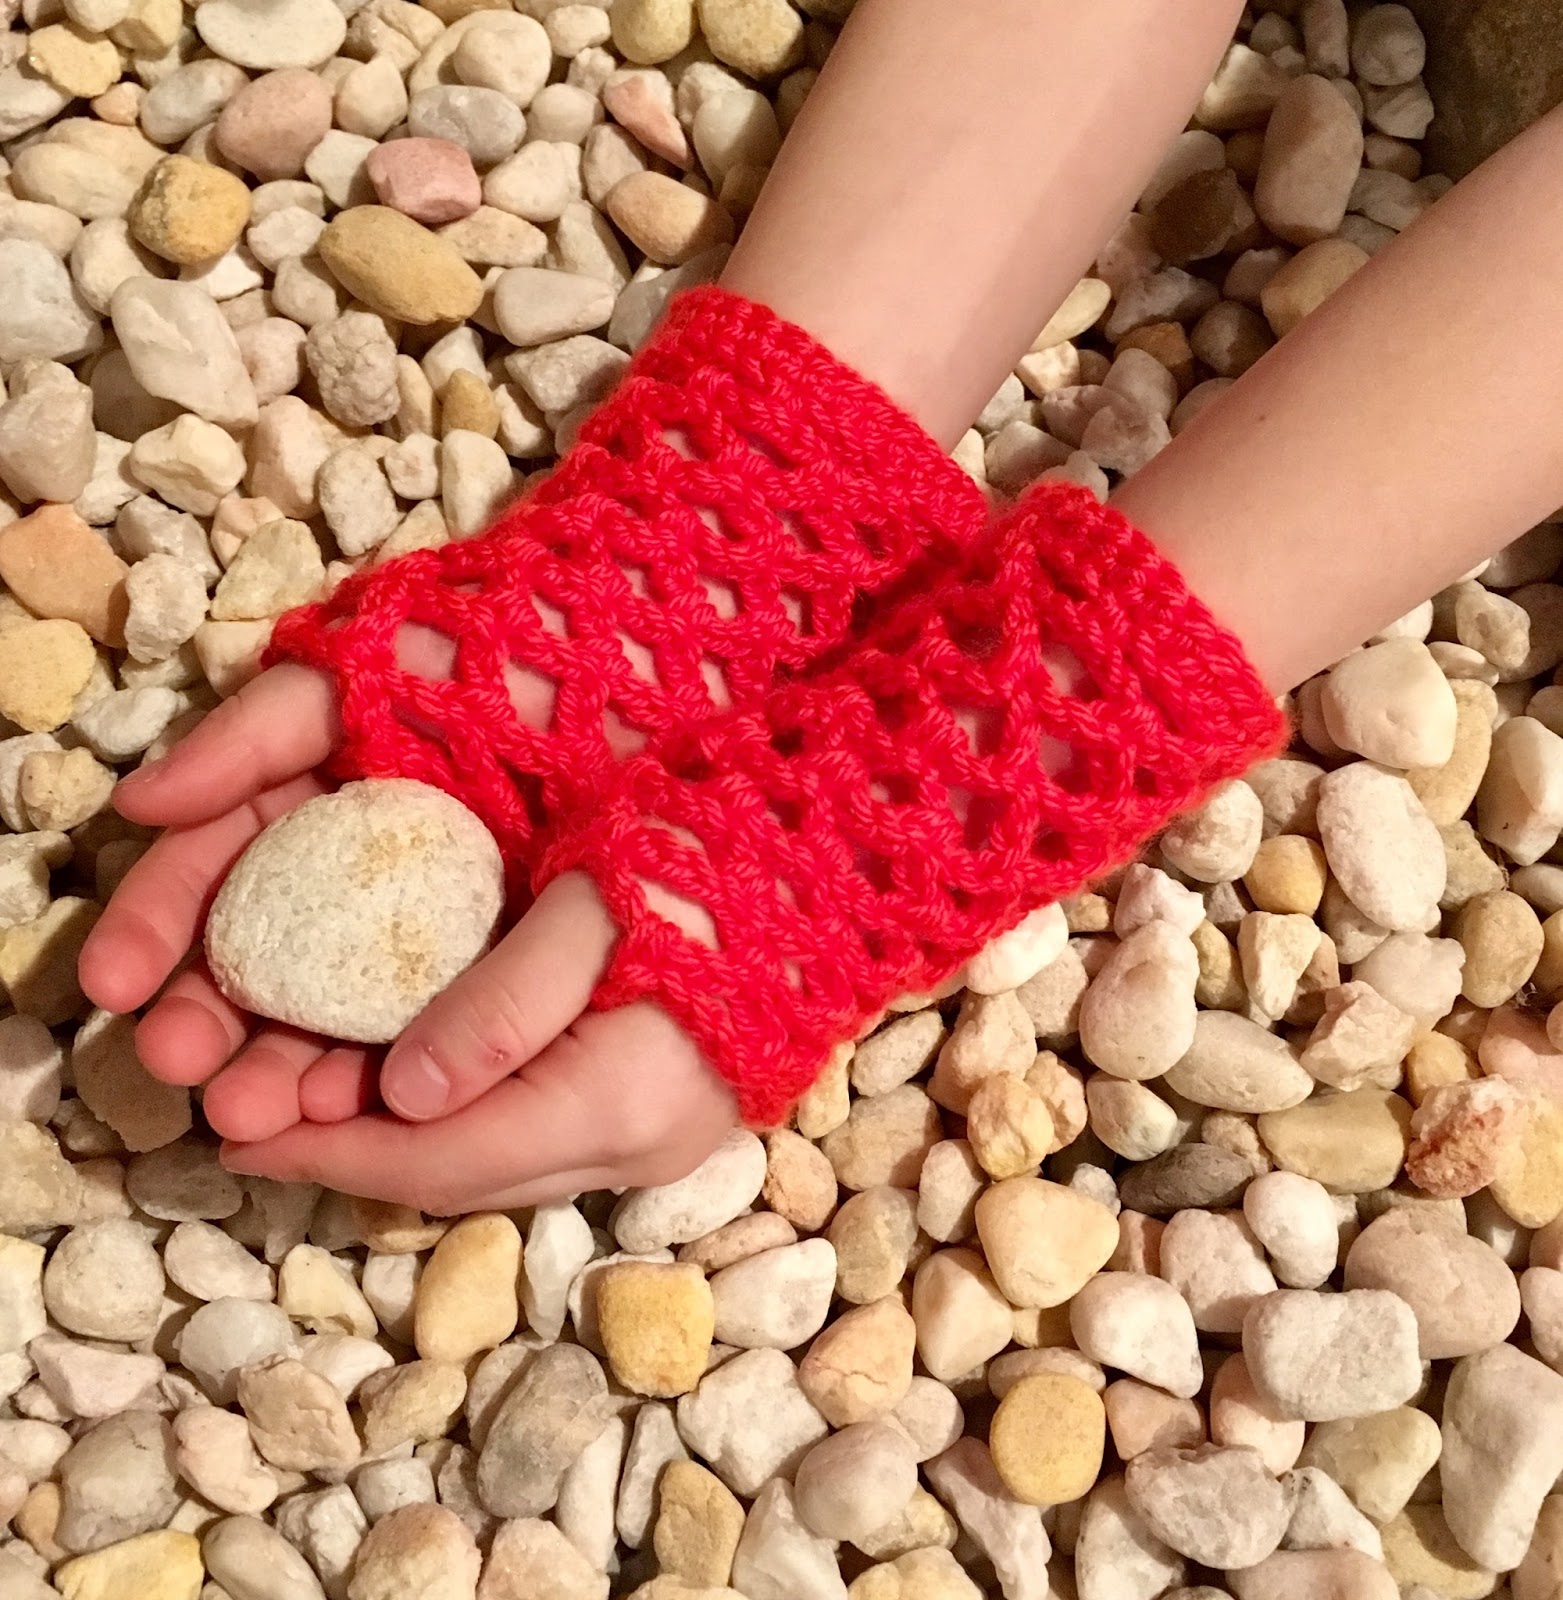
Yarns featured in photographs are Hobby Lobby's I Love This Yarn Neons in Pink Neon and Crafter's Secret in Pearl Fleck. We're going to work this purse in one piece, edge it, slip stitch the sides shut, sew on a button, weave in our ends and fill it up with all your loose change. Loose change is awful. It doesn't really fit in that tiny zippered pocket in your wallet. It makes wallets bulge and become too heavy. Loose change is all over the bottom of your purse, it's filling up your wristlet and becoming a total nuisance. You need a coin purse, or else you know someone who does.

Let's get started!


Bitty Berries Coin Purse Free Crochet Pattern


You may sell items made from this pattern, but you must credit Haute Kippy with the original design and provide my website for reference. You may not use my photographs to sell your items. Do not copy, distribute or repost this pattern in part or in whole, do not alter or redistribute this original work as your own. If you wish to share, you may link to my website only. Copying with intent to share is a form of theft and is a copyright infringement. Thanks for respecting my work!


Difficulty: Easy
Hook: E4/3.5mm
Yarn: any worsted
Notions: yarn needle, 1” button
Gauge: 4x4 berry repeats = 2” square
Measurements: 3.75” across, 2.5” tall

Special Stitches:
Berry Stitch *tr, sc* - triple crochet, single crochet, repeat
Sc2tog- single crochet two together, a single crochet decrease

Note: Purse is worked in one piece from bottom to top, the bottom is folded up to become the front of the purse and the top is folded down to become the closure flap. The purse is first edged, then folded and side seams slip stitched shut. A button is sewn onto the front to secure purse contents. E hook is a smaller hook that is usually sold separately from most hook sets. If you do not have an E, may substitute F or G but must crochet very tightly, purse will be slightly larger than given dimensions. Turning ch does not count as a st.

Coin Purse:

Chain 14
Row 1: sc into second ch from hook, and in each ch across, ch 1, turn. (13 sc)
Row 2: sc, *tr, sc*, repeat ** across, ch 1, turn. (6 berries made)
Row 3: sc in each st across, ch 1, turn. (13 sc)
Rows 4-9: repeat rows 2 and 3, three more times. (4 rows berries total)
Rows 10-13: sc in each st across, ch 1, turn.
Rows 14-21: repeat rows 2 and 3, four times. (4 more rows berries made)
Rows 22-24: sc in each st across, ch 1, turn.
Row 25: sc2tog, sc 9, sc2tog, ch 1, turn.
Row 26: sc2tog, sc 7, sc2tog, ch 1, turn.
Row 27: sc2tog, sc 5, sc2tog, ch 1, turn.
Row 28: sc2tog, sc 3, sc2tog, ch 1, turn.
Row 29: sc2tog, ch 3, sk next st, sc2tog, do not break yarn. (buttonhole made)

Finishing:

1. Pivot work to crochet along raw edge. Keep right side facing you. Sc evenly around entire raw edge of purse, making 1 sc in the end of each row. For the buttonhole, make 3 sc in the chain space of the hole. When you come to the bottom edge, sl st along the foundation row, then continue sc evenly along. Join the round when complete. Fo, weave in ends.

2. Fold bottom up to form front of purse, ensure berries are evenly aligned on front and back.

3. With front of purse facing, sl st sides of purse together by beginning at the corner, and sl st through both layers, up the side towards the flap, then sl st across the front of the front of the purses’ opening and back down the other side through both layers to the bottom of the purse.
Sew button on front of purse in the very center of the berry motif: 3 berries over and 2 berries down. Weave in any remaining ends.

Don't forget, there'll be a matching checkbook cover coming soon! If you are jonesing more beautiful berry patterns check out allfreecrochet.com to see what other designs you can make using the versatile and cute Berry Stitch. All Free Crochet is the ultimate resource for finding the newest and cutest crochet patterns, and they're always free!

Let me know what you think of this pattern: comment below, or share your work with me on instagram #hautekippy. Connect with me on facebook, and Ravelry. See my inspiration and what I pin on pinterest!

You can support Haute Kippy and help me bring the crafting community more fun free projects by visiting my Etsy Shop, where limited quantities of ready made items from my design cache can be found as well as ad-free, printer friendly PDF downloads of my most popular crochet patterns.

Enojoy this beautiful weather, go crochet outside! Take care,

xoxo - Bethany


Tuesday, March 14, 2017

Easy Fishnet Gloves


They say, "necessity is the mother of invention". In my house this is literally true. More often than not when someone needs something or something needs to be repaired, I find a way to create, fix, or rig up the item instead of buying new. I really enjoy being industrious. It's a fun challenge and is a satisfying way to be frugal. I would always rather make something we need with materials on hand instead of searching, shopping or waiting for an item. And nothing is more fun to make yourself than costumes!


This leads us to "Spirit Week". Schools have these a couple times per year and they are super fun. Kids have themed school days for which they are encouraged to dress up. I love helping my daughter put together fun Wacky Wednesday or Nerd Day outfits. Recently, one of our Spirit Week days was 80's day! 80's fashion was so fun and flashy, it remains a staple costume theme and I don't think it's going anywhere any time soon. 

My daughter's 80's costume was based on the popular athletic style trends. We found an off the shoulder cropped sweater, and layered it with a studded tank top. Then we added leggings, and of course- leg warmers! I made my legwarmers (pictured below) a long time ago when I was first learning how to crochet, and there's no pattern for them, unfortunately. If you need a legwarmer pattern, visit allfreecrochet.com and search their amazing database of free crochet patterns to find the perfect legwarmers for your 80's costume or to complement your winter wardrobe! 

We also did a side ponytail and added her big cheerleading bow for fun. Her football team's colors are orange and black so with all that pink, we needed to add one more accessory in orange to complete the look.

I knew I wanted to make her some fishnet gloves. What could be more 80's? The night before 80's day, I figured I'd skim the interwebs for free crochet patterns to see what I could find and whip up for her. I did find a couple on Ravelry, and they looked OK, but I wasn't completely satisfied and they didn't come in children's sizes. So I played around and came up with my own easy pattern for fishnet gloves. Really, our family motto should be, "If you can't find what you want, make it yourself!" So, thanks to 80's day, here's another fun pattern for the crochet world!

The 80's fishnet costume gloves are worked using a very simple method, mostly chaining, and can be easily resized for a custom fit for any person, any age, any size hand! The netting is worked using a base row with a multiple of three. No complicated thumb holes, simply use any opening in the netting. They can be worn long up the arm, or low on the hands. Add or delete rounds for a custom length. Try in a cool neon variegated yarn for a very 80's look!

To make these gloves for an adult simply measure the hand/wrist, check the pattern gauge and work accordingly in a corresponding multiple of three. The pattern as written fits a child's hand 6-8 years. 


Easy Fishnet Gloves Free Crochet Pattern


Hook: E4/3.5mm

Yarn: Any Medium/Worsted Weight

Gauge: 8 sts = 2” fhdc

Measurements: Child size, as written is 6 ½” around, 5 ½” long  

Difficulty: Easy

Special Stitches:

Fhdc- Foundation Half double crochet: ch 2, yo, insert hook into 2nd ch from hook, yo draw up a loop, yo draw thru first loop on hook (same as making a ch 1), yo draw thru all loops (first fhdc made). To continue fhdc: *yo, insert hook thru “v” on top of last st made, yo draw up a loop, yo draw thru first loop on hook, yo draw thru all loops*. Repeat ** to desired # of sts.

Note that beginning chain and foundation row will be made simultaneously with this method, and the work will fall vertically from your hook as it is formed. The V’s closest to and facing your hook hand will be the top of the stitches that you work into for the next round, the v’s on the opposite side, are the bottom of your work when held horizontally. If you need further assistance with this stitch, please search for and watch tutorial videos on YouTube.

If you just aren't feeling it and don't want to fhdc, simply make a foundation ch in appropriate number of chs, join, and then hdc into each ch, join, and then continue pattern at round 2. Easy peasy.

Abbreviations:
Sl st - slip stitch
Sk - skip
Ch - chain
Ch sp - chain space
Prev. - previous
Sts - stitches

Netting pattern multiple x3:
To resize pattern for larger or smaller hand: see gauge, measure hand/wrist, round number of sts needed up or down to make a multiple of 3, work accordingly.

Round 1: Fhdc 27, join with a sl st. Use the starting tail to join the bottom edge of the foundation round.

Round 2: *ch 4, sk 3 sts, sc in next st*, repeat ** around to last 3 sts, ch 2, dc in first ch made (at join from prev. round).

Round 3: *ch 4, sc in next ch sp*, repeat ** around to last ch sp, ch 2, dc in top of dc from prev. Round.

Rounds 4-12: Repeat Round 3 or to desired length, fo, weave in ends.

Use any hole in netting for thumb hole.

You may use this free crochet pattern to make and sell items, please do not redistribute or re-write it in any way. You must credit me with the design on any sales of finished product. This written pattern is an original work (c) 2017 Haute Kippy by Bethany Sypolt

Did you enjoy using this free pattern? Support Haute Kippy and the creation of more free patterns with a thank you gift of $1.00 donate securely and safely with PayPal at paypal.me/HauteKippy

Share your work on Instagram #hautekippy or post a picture on my Facebook page! Find me on Ravelry, Pinterest or AFC!

Select ready made items from my design cache along with printer friendly, ad free PDF downloads of my most popular crochet patterns are available in my Etsy shop!

Enjoy!
xoxo, -Bethany

ad